How to Record Snagging Items Before Playground Handover
Record every snagging item with a clear checklist and a digital log. Log each entry by location, how serious it is, and who is responsible. This method gives you a clear record you can act on.
Work through five stages: build the checklist with your commercial playground equipment manufacturer, inspect by zone, document each snag, sort and assign responsibility, then check fixes and save the records. Each stage builds on the last one.
Informal notes cause trouble. Snags get missed, handover drags on, and unresolved safety issues reach children. A careful record keeps every defect visible until someone closes it.
Key Takeaways
- Work with your playground manufacturer to make a detailed checklist. This will help you make sure every part gets inspected.
- Go through each zone in a set order to find and record all snags the same way every time.
- Record each snag with a photo, its location, and a severity rating so you have a clear record.
- Sort the problems by how serious they are. Give each one a single owner and a due date so it gets fixed fast.
- Check all repairs again during the final inspection. Keep the records on file for future safety checks.
Build a Checklist with Your Commercial Playground Equipment Manufacturer
List Equipment and Systems
Begin with your commercial playground equipment schedule. Divide the site into equipment groups: soft-play structures, trampoline courts, rope courses, ninja courses, slides, ball pools, and themed facades. Give each group its own checklist block. A soft-play structure needs items for platforms, guardrails, net attachments, and padding seams. A trampoline court needs entries for spring condition, mat tension, and frame bolts. A rope course needs checks for harness anchor points and cable tension. This setup keeps the walk organized and stops gaps from forming.
Your commercial playground equipment manufacturer can give you the source documents. Vasia Play provides engineering drawings, 3D installation manuals, and screw-level assembly guidance. Turn each drawing callout into a checklist line item. A screw-level manual shows you which fastener goes at which joint, so you can check every connection against the approved build. Ask the commercial playground equipment manufacturer for the full drawing set before you write the checklist. This step turns generic lists into a record made for your project.
Set Pass/Fail Criteria
Every line item needs a clear pass/fail test. Use playground safety standards as your base. ASTM and EN1176 set spacing and structural rules, and CPSC guidelines cover more points. Apply these rules to use zone clearances, entrapment clearances, and alignment and spacing between components. Confirm the required use zone for each structure. Measure the use zone around each item. A pass means the item meets the cited rule. A fail means it does not, and you log it as a snag.
A certified playground safety inspector can review your checklist before inspection starts. This review confirms that your pass/fail criteria match the applicable standards and that your required use zone measurements are correct. Safety compliance depends on a checklist that tests the right things. Validate the document first, then walk the site with confidence. Your commercial playground equipment manufacturer can also confirm the criteria for each item.
Inspect by Zone During Commercial Playground Installation
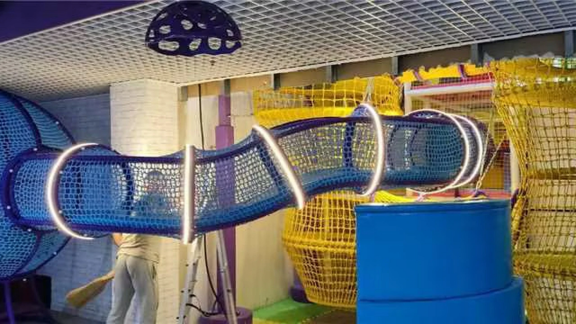
Snagging happens during the close-out phase of commercial playground installation. By this point, equipment and surfacing installation are complete. The site looks finished, but small defects remain. You now walk the venue and record every one.
Walk a Fixed Route
A fixed route keeps your inspection consistent. Walk the same path every time, and you cover every zone in the same order. Start at entry and reception. Check the gate, the welcome desk, and the shoe storage area. Move to the soft-play structure next. Then visit the trampoline and ninja zones, the party rooms, the café and seating area, the exits, and the back-of-house.
Each zone has its own checkpoints. At the soft-play structure, test fasteners at every joint, padding seams along platforms, and net attachments at the entry points. In the trampoline and ninja zones, check frame bolts, spring condition, and edge protection. In party rooms, look at trim, wall fixings, and door clearance. At exits, confirm fire-exit clearance stays clear of equipment. In the back-of-house, check storage racks and spare-part labeling.
Vasia Play’s global installation teams or approved local crews can walk this route with the owner’s representative. The crew knows the build sequence and can point out joints that need a second look. This joint walk turns a solo inspection into a shared record.
Check Safety Surfacing and Fixings
Safety surfacing deserves its own pass. Measure surfacing depth at several points in each use zone. Compare each reading against the required depth for the fall height of the equipment above it. Record any gap, thin patch, or loose seam as a snag. Check the surface condition too. Look for tears, compression, and displaced tiles.
Fixings need the same attention. Test anchor bolts at structure feet, guardrail brackets, and net tie-downs. A loose bolt at a platform edge is a safety issue, not a cosmetic one. Log it as safety-critical and assign it a deadline before handover.
Run these inspections with the checklist from your manufacturer in hand. Mark each line as pass or fail as you walk. A fail becomes a snag entry with a photo and a location tag. This discipline keeps your inspection fast and complete. It also gives the owner a clear picture of what remains before sign-off.
Document Commercial Playground Equipment Snags
Capture Photos, Location, and Severity
Every snag needs four details before you can call it recorded. Take a photo that shows the defect clearly. Write a short description in plain words. Add a location tag that points to the exact zone and component. Assign a severity rating. A photo alone leaves room for doubt. A description alone invites disagreement at handover. Together, the four details give you a record that no one can dispute.
Photograph each snag from two angles. Take one wide shot that shows the zone, and take one close shot that shows the defect. Name each file with the snag ID and the zone so you can find it later. Write the description as a single sentence. “Loose anchor bolt at soft-play platform edge, left side” tells the reader more than “bolt issue.” Tag the location by zone and by equipment group. Use the same zone names from your walk route.
Rate severity on a simple scale. Safety-critical items come first: sharp edges, unstable connections, worn padding, unsafe nets, and surfacing gaps. Functional items come next: incomplete assembly and missing parts. Cosmetic items come last: paint, graphics, and trim. This ranking drives your punch list order and your deadlines.
Use a Digital Log Template
A shared spreadsheet works well for most projects. Set up these columns and keep the order fixed:
| Snag ID | Zone | Equipment | Description | Photo Link | Severity | Owner | Deadline | Status |
Fill one row per snag. Link each photo to its row so the evidence travels with the record. Update the Status column as work moves from open to fixed to verified. During commercial playground installation, this log becomes the single source of truth for close-out. It also supports your final inspection, because you can filter by zone or by severity in seconds.
Spare-parts records strengthen the log. Keep part IDs, hardware lists, material specs, packing lists, and delivery records on file. These documents let you confirm that your shipment arrived complete and undamaged. They also help you describe missing or damaged equipment precisely, which speeds up replacement requests with your commercial playground equipment supplier.
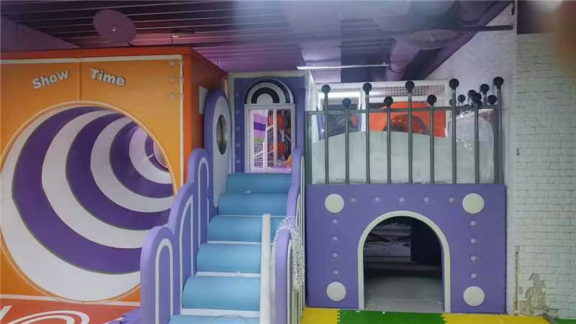
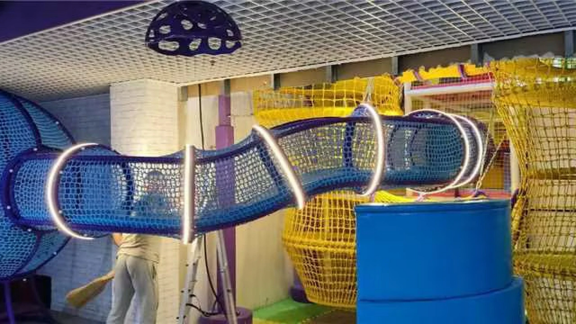
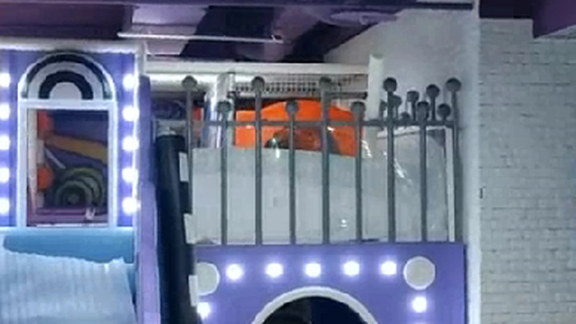
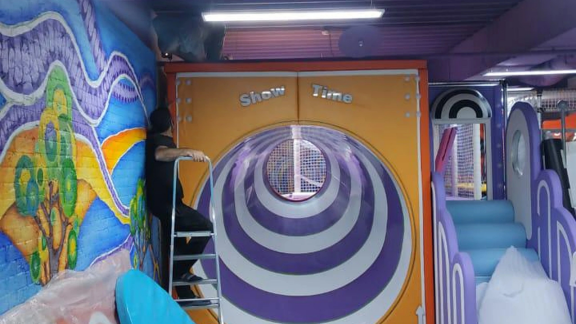
The 60 sqm compact themed indoor playground project in Moscow shows why this matters. That build coordinated a raised structure, tunnels, and themed facades with existing room conditions. A log tied to zone and equipment would have tracked each component against the room’s walls, columns, and ceiling services during commercial playground installation. Small sites leave little margin for error, and a clear record protects both safety and schedule.
Sort, Rank, and Assign Responsibility
Rank by Severity
Put every log entry into one of three groups. Safety-critical items come first: sharp edges, unstable connections, worn padding, unsafe nets, surfacing gaps, missing railings, and damaged structures. These items put children at risk and block handover until someone fixes them. Functional items come next: incomplete assembly and missing parts. Cosmetic items come last: paint, graphics, and trim. This ranking sets your repair order and keeps the worst defects in view. A ranked log also shows the owner where the risk is.
Severity also shapes your inspection schedule. Check safety-critical items first at every follow-up visit. Confirm surfacing depth in each use zone against the level required for the fall height above it. A thin patch near a slide exit should rank higher than a scuff on a themed façade. Use the same logic across the site, and your punch list stays honest. A ranked list also helps you brief the crew on safety at the start of each day.
Set Owners and Deadlines
Each snag needs one owner and one deadline. Give the item to the party who controls the fix. The commercial playground equipment manufacturer owns missing parts and defective components. The installer owns assembly errors and loose fixings. The operator owns cleaning, housekeeping, and minor cosmetic touch-ups. Write the owner’s name in the log and set a deadline before handover.
Check each item against the manufacturer’s warranty coverage. This step makes clear who pays for the fix and prevents disputes at sign-off. Your commercial playground equipment manufacturer can confirm which parts fall under warranty. Vasia Play’s turnkey handover process includes fixing outstanding issues before formal sign-off, so the handoff closes with a clean record. Safety compliance depends on this discipline, and a clear owner for every snag protects the schedule. Review the owner list at the end of each week and escalate any item that misses its deadline.
Verify Fixes at Final Inspection and Archive Records
Re-Inspect Against the Log
The final inspection closes the loop on every snag you recorded. Walk each zone again in the same order as your first route. Open the log and compare each row with what you see on site. Mark each snag as fixed, re-opened, or accepted with a note. A re-opened item goes back to its owner with a new deadline. An accepted item needs a written reason, like a cosmetic mark that does not affect safety.
Run this pass as one of your formal playground equipment inspections. Test the same fixings, padding seams, net attachments, and surfacing depth you checked before. Confirm that each repair matches the approved drawing. A fixed bolt needs the correct torque and the right washer. A patched surfacing seam needs full adhesion along its length. Record the result in the log as you go, and photograph each fixed item for the file.
Sign Off and Store Records
Prepare the sign-off document once every safety-critical item is closed before handoff. List the date, the attendees, any open items, and the signatures of the manufacturer, installer, and owner. Attach the completed log as an inspection report in writing. This document proves that the handoff met the agreed criteria and gives both parties a shared reference.
Archive the log, photos, warranty documents, and spare-parts list for the life of the playground. These records support future safety inspections and final inspection and maintenance planning. Keep them in one shared folder with clear file names. Vasia Play provides lifetime after-sales support and replacement-part guidance that ties back to your archived snagging records. When a part wears out, the log shows its ID, its zone, and its original condition. That link shortens every future inspection and keeps your safety record complete.
Write down every snag using a checklist, a walk through each zone, and a photo log. Rank each item by how serious it is, give it one owner and one deadline, then check every fix at the final inspection. Keep the log, photos, warranty papers, and spare-parts list for as long as the playground is in use.
Good records protect both the manufacturer and the operator. They show what you found, who fixed it, and when. That record is the base of a safe handover, and it keeps safety visible long after opening day.
Use the digital log on your next indoor playground project. Start with the template above, and let the record work for you.
FAQ
Who should attend the snagging walk?
Ask the owner’s representative, the lead of the installation crew, and someone from your commercial playground equipment manufacturer to come along. Each person notices different problems. The installer knows the order things were built, the owner knows how the site will be run, and the manufacturer can confirm warranty coverage right there. Walking together creates a record everyone accepts.
How long does a snagging inspection take?
The time depends on the size of the venue and how much equipment there is. A small site with a few zones takes much less time than a large family entertainment center with trampoline courts and rope courses. Walk each zone at a steady pace and log items as you go. Rushing the route causes missed defects, and a second visit costs more time than the first.
What happens when the installer disputes a snag?
Go back to the approved engineering drawings and the pass/fail criteria in your checklist. Compare the disputed item against the drawing and the cited standard. A photo taken from two angles settles most disagreements. Record the outcome in the log with a note. Escalate unresolved items to the manufacturer before sign-off.
Should you delay handover for cosmetic snags?
No. Keep cosmetic items separate from safety-critical and functional ones. Cosmetic marks rarely justify holding the opening. Set a deadline for touch-ups and track them in the log. Delay handover only when safety-critical items remain open, because those items put children at risk.
How do you handle snags found after sign-off?
Log them the same way. Use the same template, photo method, and severity tiers. Check each item against the warranty documents in your archive. Vasia Play’s lifetime after-sales support and replacement-part guidance tie back to your stored records, so late findings still route to the right owner.
Contact
Planning a new indoor play center or upgrading an existing facility? Send us your initial data to discuss the appropriate equipment package and receive a tailored proposal for your space.
Please include in your inquiry:
– Country and city of installation;
– Floor plan with dimensions, columns, entrances, and exits;
– Net usable area and clear height up to engineering systems;
– Target age groups and desired play zones;
– Theme preference and approximate budget;
– Planned opening date;
– Requirements for delivery, installation, and staff training.
If you like the Valencia project, please provide a link and specify which elements you’d like included. Request that the response feature a preliminary layout, detailed specification, cost breakdown, production timeline, and a list of required documentation for your market. Also clarify what additional information is needed for a final quotation.
E-mail:huaxiatoys@huaxiatoys.com
F-Phone: +86-18066498819